This post is part 1 of 2 in ‘Babel + Webpack a Beginner’s Guide‘ series.
Part 1: Getting started with Babel
Part 2: Setup Webpack with Babel
In this post, we will try to answer the last two questions from the previous post:
- What is Webpack
- How to install and use Webpack + Babel
Let’s start with the first.
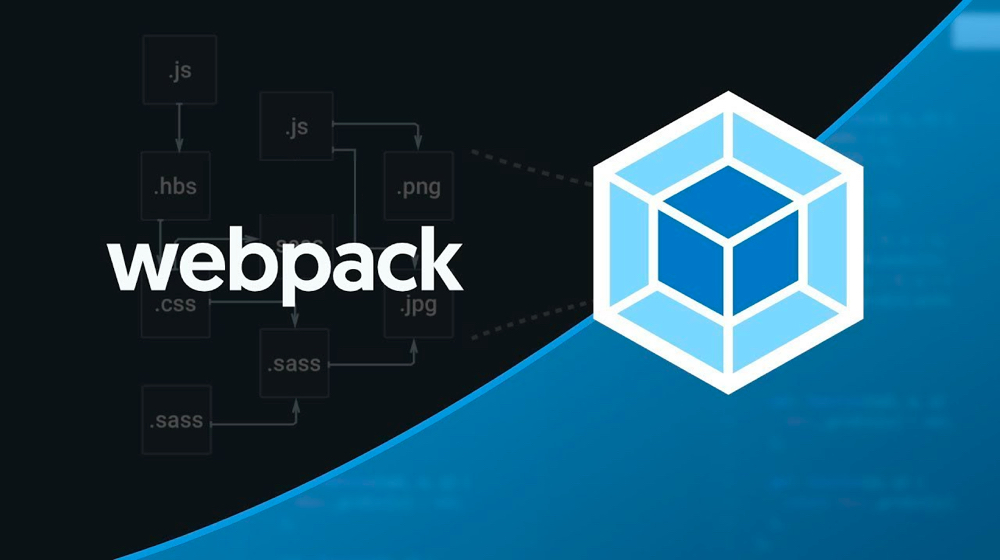
What is Webpack?
To give you the short definition Webpack is a powerful module bundler for JavaScript applications. When I tell people about Webpack I tell them it is about creating a single file from multiple files.
The main idea is that you specify an entry point a javascript file and Webpack traverses the dependencies of that file and builds a graph out of it.
When the graph is done it gets created in a new file.
We will use the code from the previous post but we will add some extra files and change the code of index.js
// index.js
import { sumString } from "./helpers.js"

document.body.onload = () => {
  const $btn = document.getElementById('btn')
  const $input = document.getElementById('input')
  const $result = document.getElementById('result')

  $btn.onclick = () => {
    $result.innerHTML = sumString($input.value)
  }
}
And we will create 3 extra files:
-- index.html
-- index.css
-- helpers.js
And the code for each file:
/* index.css */
button {
  appearance: none;
  border: 1px solid black;
  padding: 8px 16px;
}

input {
  border: 1px solid black;
  padding: 8px 8px;
}

.result {
  padding: 4px;
}
// index.html
<html>
<head>
<title>Hello Webpack</title>
<link rel="stylesheet" type="text/css" href="index.css" />
<script src="./index.js" type="module"></script>
<script src="./helpers.js" type="module"></script>
</head>
<body>
<div>
<input id="input" value="2 + 3" />
<button id="btn">Click Me</button>
<div class="result">Result: <b id="result">0</b></div>
</div>
</body>
</html>// helpers.js
const sum = (a, b) => {
return a + b
}
export const sumString = (str) => {
const arr = str.split('+')
if (arr.length < 2) {
return 0
}
return sum(parseInt(arr[0]), parseInt(arr[1]))
}What we are trying to do is pretty simple 😊sum two numbers.
If you open index.html you will see everything is working, but as you can observe our code is split into multiple files. We have the CSS file, the helpers file plus the index.js file. All had to be included in the index.html for this to work.
Think how hard will be to do this for hundreds of CSS and JS files. What we will like to have is just one file that can be included in the index.html and have all our code (CSS + JS).
This is were Webpack will help us. Let’s install it and put it to work. But before we install Webpack let’s rearrange our files into directories.
-- build
  -- index.html
-- src
  -- index.js
  -- helpers.js
  -- index.css
-- .babelrc
-- package.json
-- package-lock.json
How to install and use Webpack + Babel
Ok, first we need to install Webpack using npm
npm i -D webpack webpack-cli We can tell Webpack what to do in a config file webpack.config.js and that’ll allow us to use the command webpack without specifying the source (index.js) and the target (bundle.js) and this becomes more powerful when we add loaders.
const path = require("path");

module.exports = {
  entry: "./src/index.js",
  output: {
    path: path.resolve(__dirname, "build"),
    filename: "bundle.js"
  },
  module: {
    rules: []
  },
  resolve: {
    extensions: [".js"]
  },
  stats: {
    colors: true,
    errorDetails: true
  },
  devtool: "source-map"
};
As you can see we tell Webpack the entry file (index.js) and were to generate the output file (build/bunde.js)
Now we will replace the “build” script in package.json to run Webpack instead of Babel.
// package.json
.....
"scripts": {
  "build": "webpack --mode production"
}
....
Then in our index.html, we don’t need to import all the files we only need the file generated by Webpack
// index.html
<!DOCTYPE html>
<html>
  <head>
    <title>Hello Webpack</title>
    <script src="./bundle.js" type="module"></script>
  </head>
  <body>
    <div>
      <input id="input" value="2 + 3" />
      <button id="btn">Click Me</button>
      <div class="result">Result: <b id="result">0</b></div>
    </div>
  </body>
</html>
Now you can run the command npm run build and Webpack will generate a bundle.js file in the build directory. After that, if you start the index.html everything should work the same with one exception, no CSS + where is Babel ???
Webpack Loaders
Loaders are used by Webpack to transform files before they are concatenated.
We will use 3 loaders, the first one is babel-loader and as you should already know by now this will transform our JS files into old JS before they get bundled and the other loaders will be style-loader & css-loader that will allow us to load CSS files.
Let’s install them:
npm i -D style-loader css-loader babel-loaderAnd now update webpack.config.js file
const path = require("path");

module.exports = {
  entry: "./src/index.js",
  output: {
    path: path.resolve(__dirname, "build"),
    filename: "bundle.js"
  },
  module: {
    rules: [
      {
        test: /\.js$/,
        exclude: /node_modules/,
        use: [{ loader: "babel-loader", options: { cacheDirectory: true } }]
      },
      {
        test: /\.css$/,
        use: ["style-loader", "css-loader"]
      }
    ]
  },
  resolve: {
    extensions: [".js"]
  },
  stats: {
    colors: true,
    errorDetails: true
  },
  devtool: "source-map"
};
And we are done. If you run the command npm run build Webpack will bundle all the files (JS + CSS) and generate the bundle.js file for you.
Conclusion
Webpack is a great tool for web development and it is used by all the great frameworks (React, Vue.js, etc…). Understanding how it works and why it is used is an important skill for a web developer.


One Comment